Our homes can be expressions of ourselves, our families, our lives, and our own creativity. Everything from the furniture that we select, how we use specific rooms and spaces, and even art and images that we frame on our walls or fireplace mantels can tell many stories about us. A gallery wall in your home can be a great way to showcase your personality into your home and make a focal point in a room.
HOW TO DETERMINE A GALLERY WALL STYLE FOR YOUR HOME?
There are many styles to choose from. Where do you start? We always like answering a number of creative questions first! Try these questions to help you get your creative juices flowing:
- Do you want your gallery to be clean and symmetrical looking?
- How much space do you have to work with and how much do you want to take up with it?
- Do you want the photos to be focused around family and friends or something else entirely?
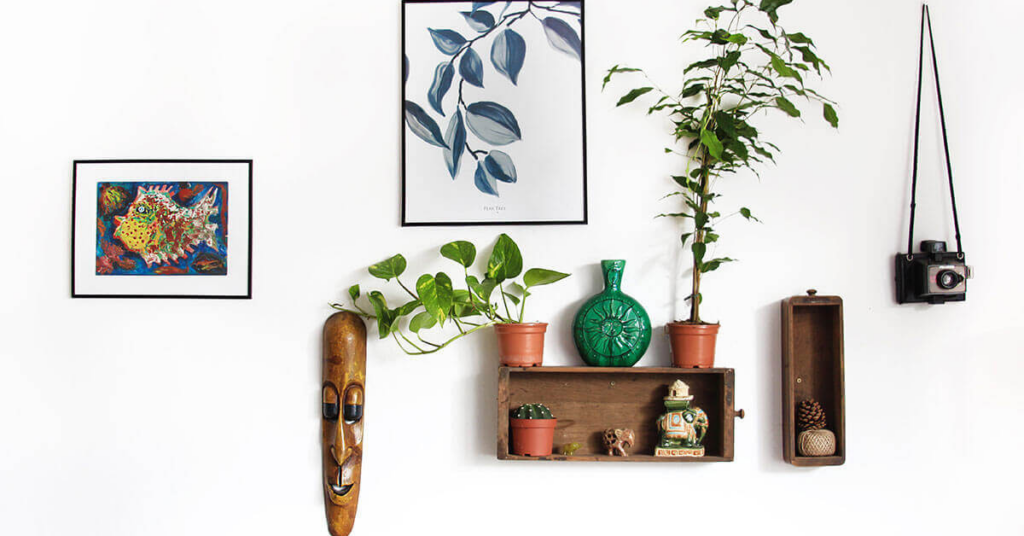
- Do you only have a few photos and need to use other items to help fill the space?
- Do you want to create a statement with art, photos, posters, or other objects?
GATHER YOUR INSPIRATION
There are many sources of inspiration. Outside of cutting out magazines, you can also check out pinterest, houzz, and even instagram for examples of what other people have created. A simple internet search for Gallery Wall will undoubtedly pull a plethora of ideas for you to start with.
Another great place to look is probably within your own home! Make a list of things that you are interested in, pieces of artwork that you own, or even created yourself! A gallery wall doesn’t even have to be artwork or photos. It can be made from colourful vinyl records, hats, plates or bowls. The key thing to remember is that this wall is about you!
PICK THE PERFECT LOCATION FOR YOUR GALLERY WALL
Next you will need to find a location in your home to create this feature. Start looking for larger walls that have lots of space to maximize, this could be a long hallway wall, a living room wall or the wall behind your bed to name a few. Hint; if you read our last blog, ‘Revitalize Your Home with a Splash of Paint,’ use your newly painted feature wall and add your gallery to it. Layering a feature wall with photos helps to add more visual interest to your home.
PLAN YOUR LAYOUT
Before we start putting holes in the wall it’s good practice to plan it out first. If you are handy with a pencil and paper, you could try sketching it out first based on the pieces you have. Otherwise the next step would be to use the floor to plan your layout.
Start by placing all of your objects, framed pictures, artwork, or other pieces and arrange them on the floor in front of the wall. That way, when you stand in front of your arranged layout on the floor, you can visualize what it might look like once it’s on the wall.
GALLERY WALL KITS
If you are not a visual person, there are some great tools to help you with your first gallery wall. Stores like Crate and Barrel have some ideas, as well as Ikea. Check out these examples:
- Set of 10 Photo Frames by Crate and Barrel – This set of frames offers a good framework (see what we did there!?) that you can use to showcase some of your own photos. This is a great option for friends and family images on a large wall space. You can also use
- Set of 3 Frames by, Crate and Barrel – This set of frames is great for a small wall. Again, these frames are great for your own photos and is better suited for a smaller wall space.
- GRÖNBY, by Ikea – These particular products are a good option for walls that are trying to either match or contrast spaces with blue in them.
- KNOPPÄNG, by iKea – Another option by Ikea is great for photos, artwork, and even posters.
BUILDING YOUR GALLERY WALL
Before you start, make sure that you have supplies to hang your art. This might include painters tape, measuring tape, small level, hammer, nails, picture hanging kit, hanging wire if your art hanging kit does not have and potentially some wall anchors, and or a stud finder.
If you do not know how to hang art there are many useful tips and how-to videos on YouTube you can follow.
When mapping the pieces out on the wall use your eye level as the centre point of the gallery. If you have a 9′ or 10′ ceiling that focal point could be a little higher. If you are unsure, a good measurement to start with is around 5′ from the floor to the center of your main piece of art/photo for a standard 8′ ceiling room and approximately 5′-6″ to center from the floor on a 9′ ceiling.
Another good tip before you start hanging would be to use painters tape to frame out where you are going to hang each piece. Stand back and visualize the representation of your pieces with the painters tape. Be sure to measure out the placement of all of your pieces before you hang them if you are looking for that clean symmetrical look.
STAND BACK, ENJOY, AND MAKE AN IMPRESSION!
Once you have hung all of your pieces, there’s only one more thing to do, stand back, and enjoy. This gallery wall is a showcase in your home and tells a story about who you are and what you have to say!